Here Is A Small Jewelry Box Anyone Would Be Proud To Own
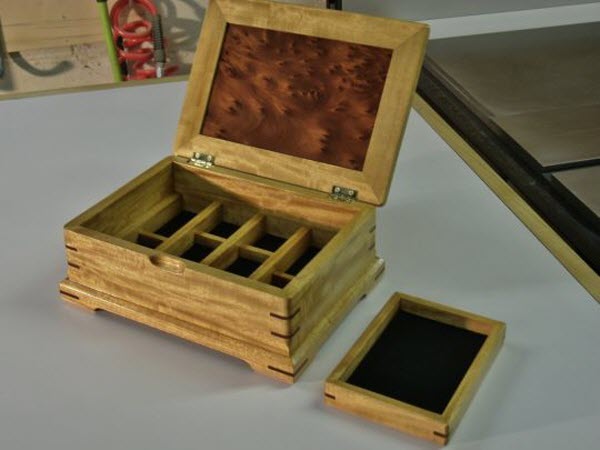
Made from two contrasting woods, it really looks good with the darker wood insert in the lid and that ties together with the same dark wood for the splined miters.
I found this article on how this box was made and thought it would be a great DIY gift idea.
Here’s how to get started making the box. (check the second page for the interior pictures).
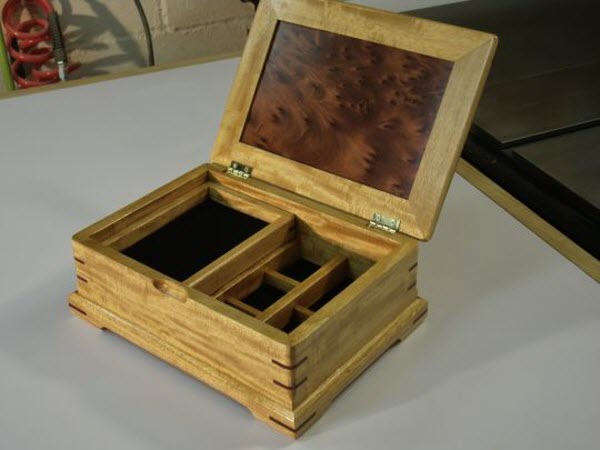
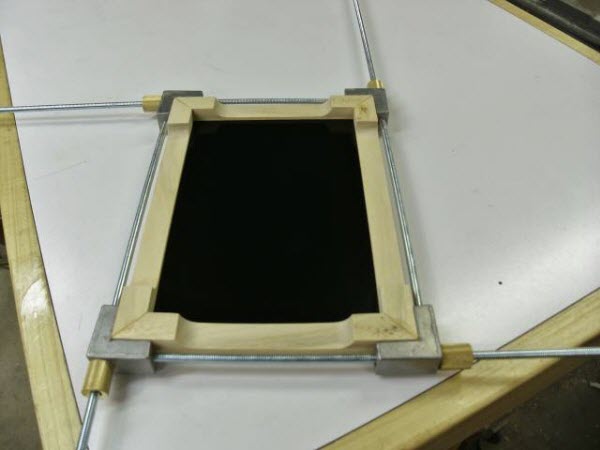
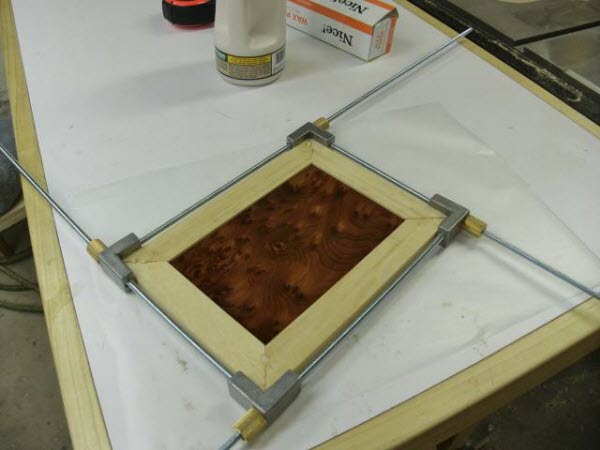
“I used stop hinges for the lid. The lid stays open at 95 degrees without any assistance. The panel in the lid is Redwood Burl. It is veneer I had found stored away in a box of college text books from many years ago. I found several pieces of three species in good condition. They came from the IWF (International Woodworking Machinery & Furniture Supply Fair) held in Atlanta Georgia that I attended back in 1988. I grabbed these veneer pieces from a booth of Chester B. Stem Inc. whom had them as samples. I used 1/4” MDF as the substrate and the veneered panel is fitted in the mitered frame of the lid in a centered groove. I used coats of lacquer on the veneered panel as grain filler. Sanding back and recoating until satisfied, all prior to assembly. I posted a photo of the assembly below.
The keys (or splines) in the miters are made of Bloodwood. My first time using this wood because it is very expensive in my area and read it was difficult to work. The limited use in this project resolved those issues. I think they complement the Redwood Burl and contrast the Primavera very well.
The base and small tray both have a MDF panel. I used 1/2” for the base and 1/4” for the small tray. I rabbeted the panels and fitted them into grooves as the joinery. The undersides of both the base and small tray panels were painted black and lacquered prior to assembly. The topside of the panels (which later would become the inside of the box and tray) were sealed with lacquer. Once the base was assembled, I then glued the base to the box assembly. I posted photos of the joinery and assembly of the box, base, and small tray below. At the very end of the construction and finishing, I lined the insides of both the box and small tray with black felt.”
Check out the assembly images on the next page.
Next Page »
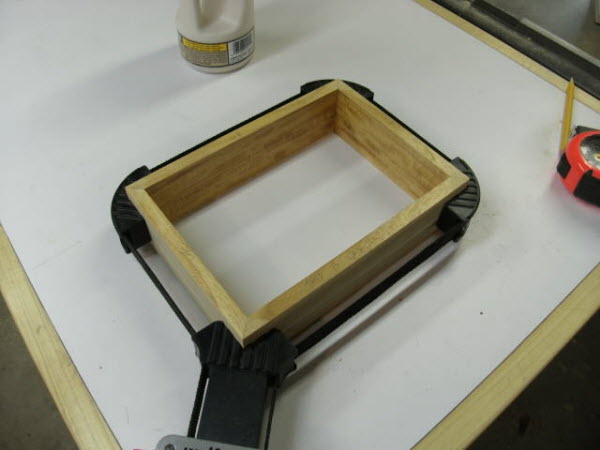
Here are the sub assembly pieces being glued together.
The Base
The sides
The Top
More images are available in the original article
Check out the next page to see the box interior
Next Page »
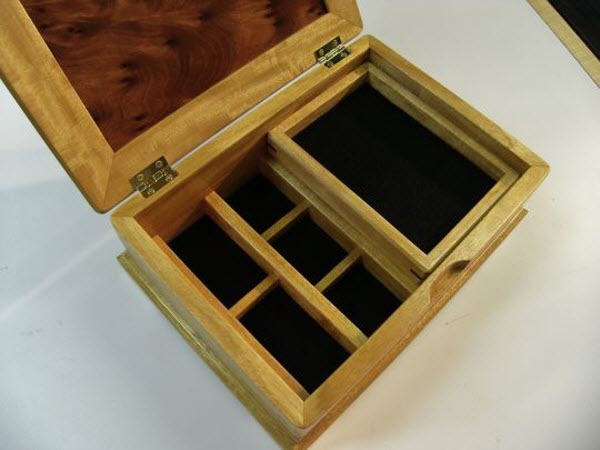
The interior of this box was nicely done too.
I like the sliding removable tray.
See more images at the original article
A Jewel Of A Jewelry Box
No comments:
Post a Comment